
A weekend spent in the kitchen with Aurora!

From making fresh pasta to gherkins with the abundance of cucumbers growing the garden, lots of fun was had in the BB kitchen.
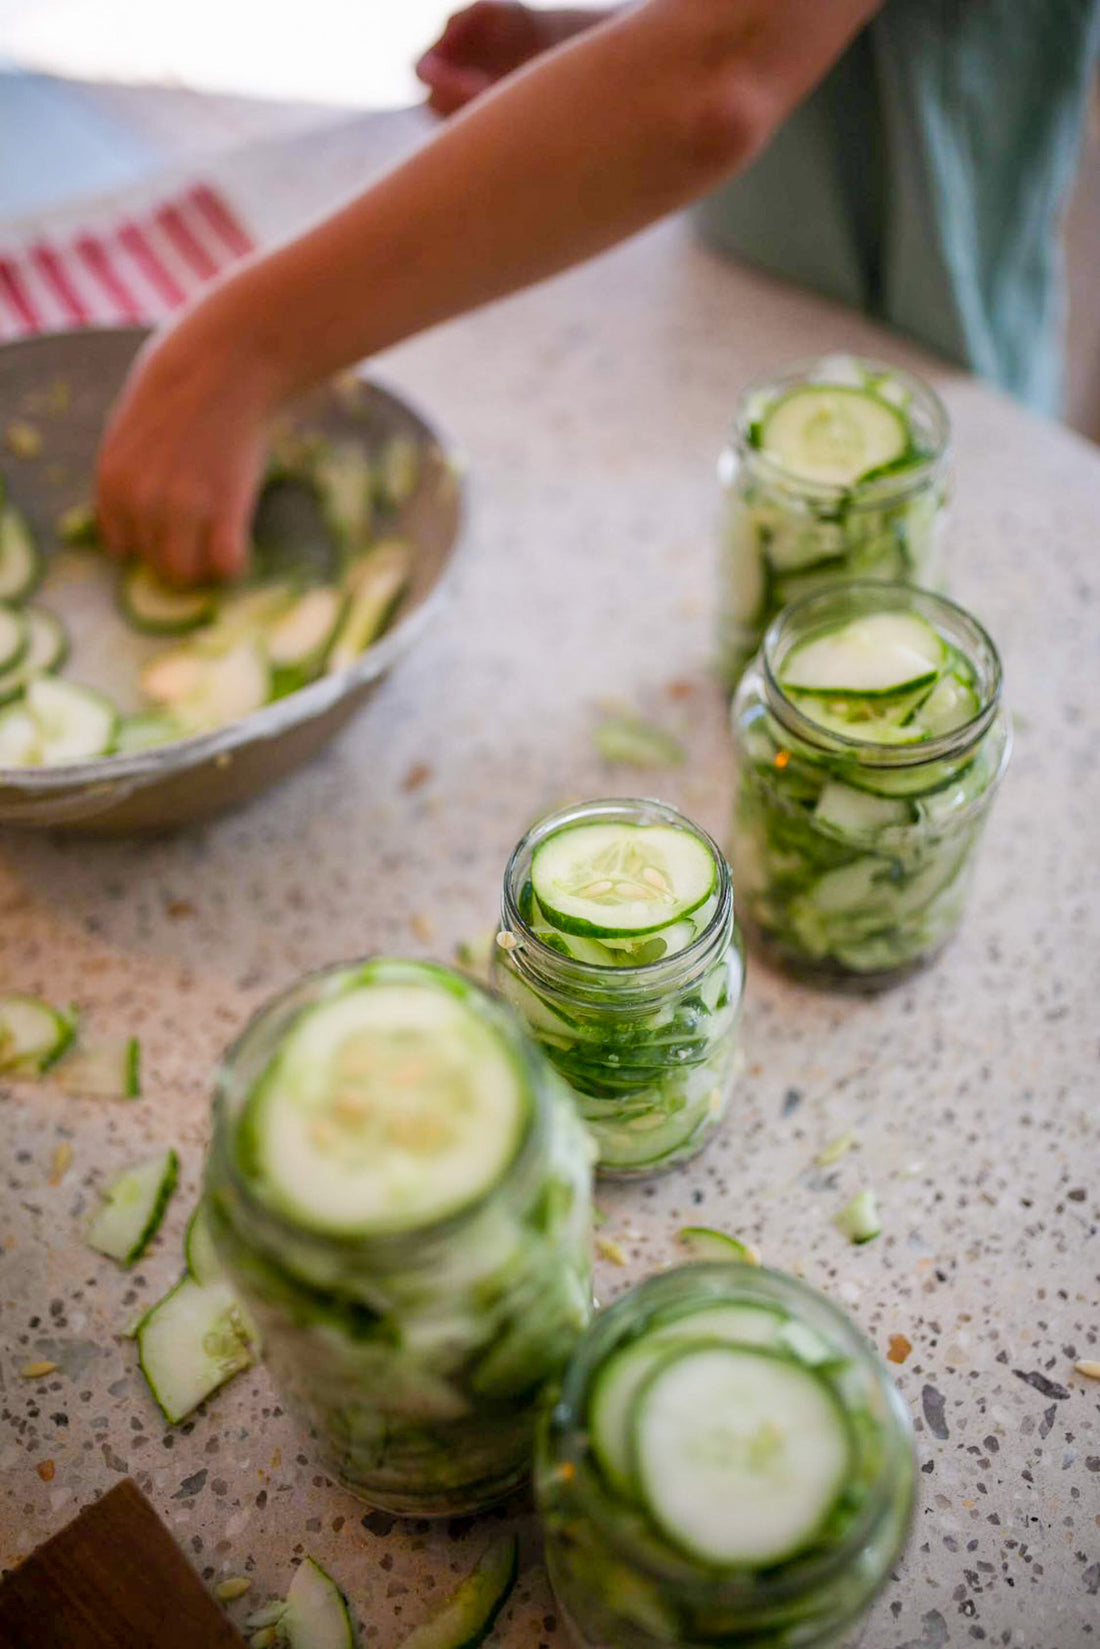
So we thought we'd love to share the recipe and steps we did to create our very own gherkins ....
Preparing the cucumbers | Bathe your cucumbers in a cold water brine made up of salt + water. Make sure to use a little hot to dissolve salt first and then cover with enough water so that all cucumbers are covered. Weigh down with plate/bowl if needed and sit asidie for between 4-6 hours.
Make sure to remove ends before soaking!
Now to pickle ...
Ingredients | Cucumbers - Water - Vinegar - Sugar - Salt - Spices - Muslin Material - Jars
Pickling Brine | In large pot - Add 8 cups water, 6 cups white vinegar, 1/4 cup sugar, 1/2 cup salt and1 Tbls desired spices. If you feel like these quantities are too much just adjust using the same ratio.
Use muslin cloth to hold pickling spice mix and bring to the boil.
(In this time make sure to prep your jars by washing in hot soapy water and place warm jars onto a tea towel ready)
Canning Pot | Before beginning to can your pickles, in another large pot on the stove, fill with water and heat.
To Fill | Into each jar add, clove garlic, 1 teaspoon mustard seeds and 1 teaspoon dried/fresh dill.
Cut your cucumbers whichever way you feel, we did slices to be more a gherkin/sandwich pickle but you can also do chuncky pieces/lengths.
Now pack your jars as full as possible and once brine has come to the boil add to your jars leaving a little space at the top. Gently tap out any air bubbles.
Add lid and tighten finger tight.
Canning | Add your jars to your water bath already prepared with enough water that the jars have about 5cms of water above the lid. Bring water to around 180 degrees and leave in there for 30mins.
Note - It is important that the temperature does not drop below 180!
Then carefully remove jars onto tea towel lined bench and let sit over-night.
Now you are ready to label and open as desired!
